Cruise Freebies – Get Free Stuff on a Cruise Ship!

If you love hopping on a cruise ship and you love to get free stuff, I’m here to tell you some of the best freebies and perks on a cruise and some cruise hacks to find out what’s included on your cruise. Read to the end for a freebie from me to help you plan your future cruises!
Avoid These Cruise Ship Booking Mistakes in 2025

Are you thinking about making a cruise booking? I can help you to avoid cruise problems by showing you ten cruise ship booking mistakes to avoid. Keep watching to the end for five bonus mistakes to avoid once you’re onboard.
Carry On Packing List For Traveling Overseas
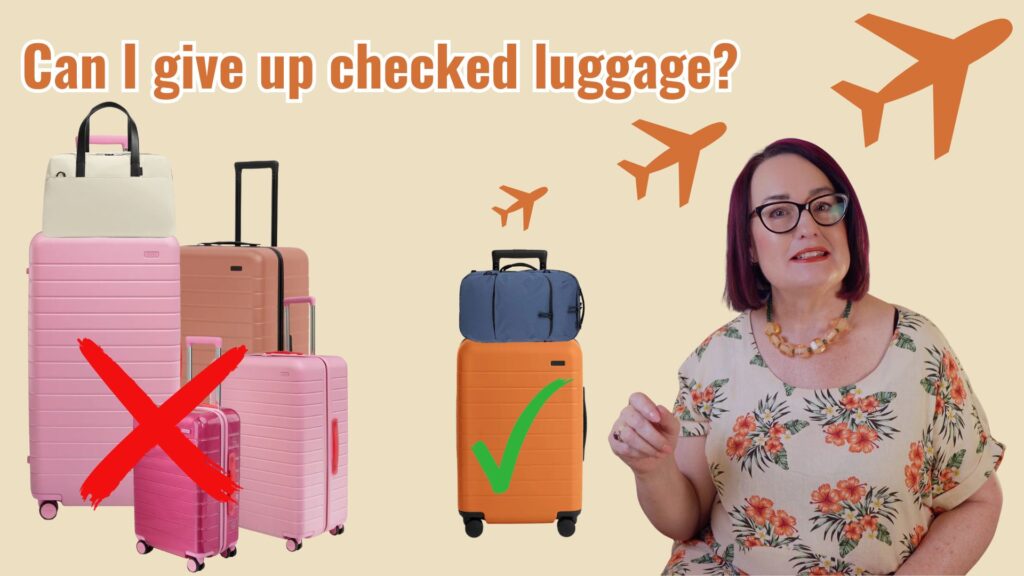
Have you wondered whether you could pack carry on only for travelling overseas? I went through my carry-on packing list for two weeks overseas, so you can see what I packed. I have carry-on packing tips and more! Join this committed baggage checker in learning how to pack it all in carry-on luggage only!
Oceania Insignia Cruise Ship Review
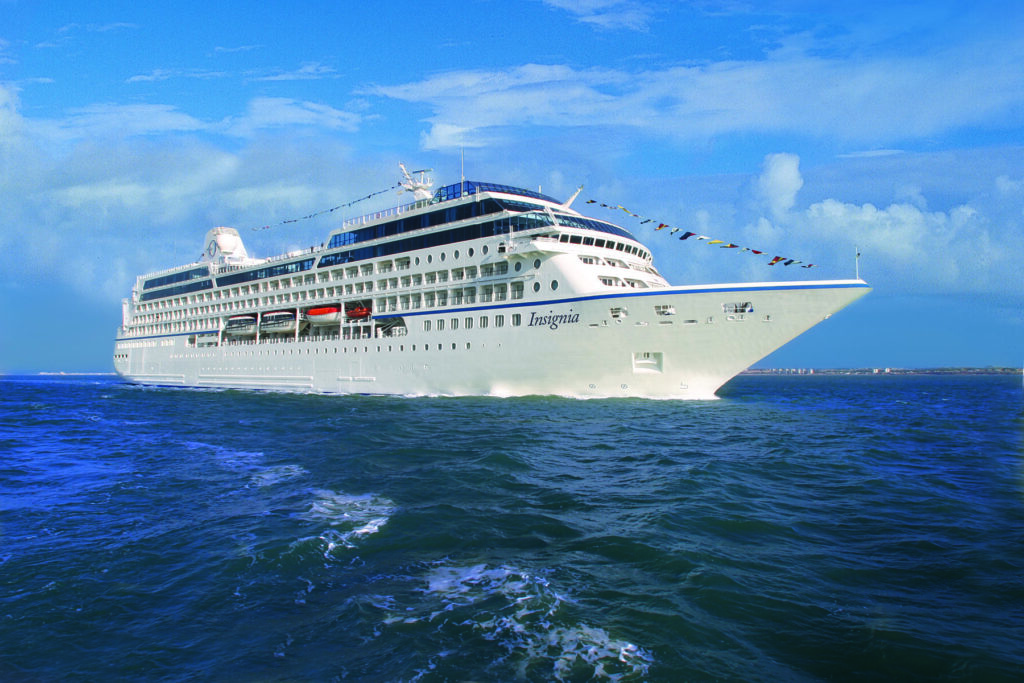
We’ve just taken a cruise that we weren’t sure if we’d enjoy – and at our advanced ages it was for an unusual reason. For years we’ve wanted to incorporate a cruise into our regular visits to New York, and this cruise, combined with Michael’s love of photography during the autumn foliage seasons, seemed to fit the bill.
We loved the look of the port heavy itinerary, with six ports in Canada and four in the USA, ending in New York. And the time of year was perfect for us.
But we also knew that Oceania tends to have an older set of passengers, and while we aren’t spring chickens ourselves, we wondered if we would feel too young.
Which Cruise Line is the Best?

Are you wondering which cruise line is the best for you? I’m going to tell you all about the different types of cruise line and compare them so you can decide which cruise line you should choose.
2025 long vacation packing list
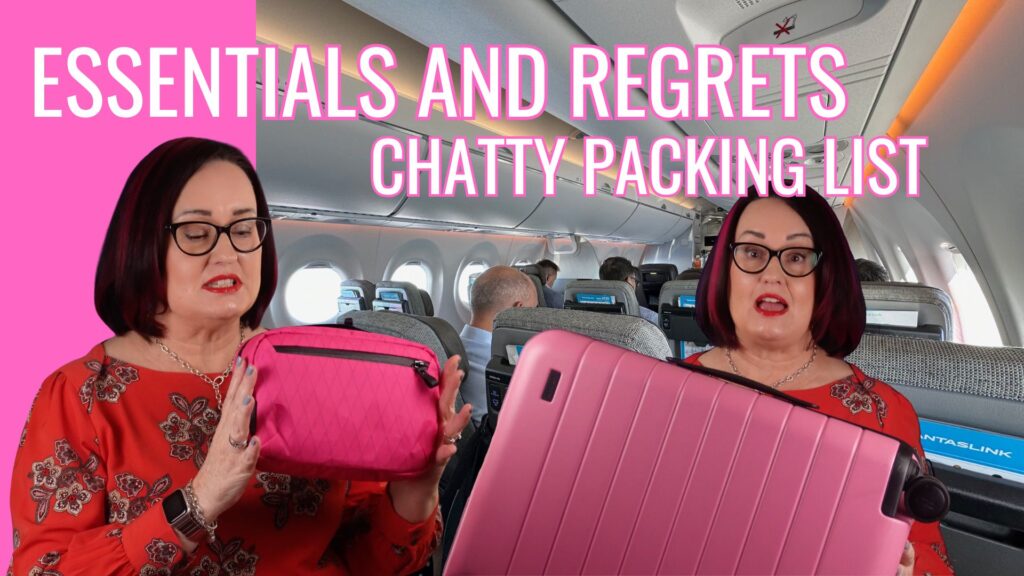
See my complete packing list and what’s in my bag as I pack for a six-week holiday and hear what I learned and what I should NOT have packed! We are travelling by air from Australia to Canada for two nights in Montreal, then cruising on Oceania Insignia through Canada and New England, arriving in New York. We spend two weeks in New York before hopping on Norwegian Prima for a cruise to Bermuda. We spend two more nights in New York then fly home to Australia. What would you pack? Disclosure: Some of the links below are affiliate links. This means that, at zero cost to you, I will earn an affiliate commission if you click through the link and finalise a purchase. Clothes Handbag and EDC Tech Makeup Toiletries Health and comfort Cruise essentials Miscellaneous
Never do these 20 things in your cruise ship cabin
Like anything in life, cruising has things you shouldn’t do – particularly in your cabin. I have 20 of these and I’ll also include some clever tricks to help you enjoy your cruise.
Travel tips for solo women travellers – including safety!
No one understands the need for safety quite like another woman. We’ve all spent years considering how we dress, behave, and what we carry with us to reduce our vulnerability. Who hasn’t found herself walking alone at night, clutching her keys like a weapon, ready to defend against a potential attacker? Who hasn’t felt a rush of anxiety upon hearing footsteps behind her, wondering if they’re a threat or just someone going about their day? Unfortunately, feeling completely safe is something many women miss out on—a reality that’s often not understood by men. But that shouldn’t stop us from embarking on solo travel! With careful planning and a focus on safety, we can explore the world confidently. Preparation It’s vital to thoroughly research your destination before you set off. Familiarise yourself with everything from safety tips, local customs, and travel advisories to potential issues related to your insurance and documentation. Remember, knowledge is power. The more you know about your destination, the more empowered you’ll feel. If you’re still deciding where to go, consider researching destinations that are known for being safe for solo female travellers. Once you’ve chosen your destination, dive into specifics. Identify the safest areas to stay and be aware of any common scams that might catch unwitting tourists off guard. Don’t forget to review your government’s travel website—it offers valuable insights into potential safety risks across the globe. Australian government travel advisory US government travel advisory UK government travel advisory Canadian government travel advisory You need to prepare your travel insurance and your documentation. Is your passport ready to go? Does your travel insurance cover the destination and any valuables you intend to take with you? Does it cover all activities you plan to do – you usually need to notify them about anything high risk, such as skiing. Always make sure your travel insurance information is accessible – I keep mine on my phone but what if my phone breaks or is stolen? I can also access it from my iPad and laptop, but you may feel safer with a hard copy backup. You should also keep a copy of your passport, your hotel address and local emergency numbers as a backup too. Learn a little of the language, if the country you are going to does not speak the same language as you. Even just please, thank you, hello, goodbye can make you feel more comfortable and less out of place. Update your ICE contact in your phone. Make sure it is accessible if you were to need medical attention whilst unconscious – most phones from the last few years can do this, so research how to do it on yours. And finally, save offline maps in Google maps in case you don’t have wifi or a network accessible where you are going. Packing A top tip here is to avoid overpacking. Ensure you can handle your own bags comfortably, as you’ll need to keep them with you in public toilets and other tight spaces. You won’t want to rely on others for assistance, because this can increase the risk of theft. Place an Apple Air Tag or similar device in all your bags. This way, you can always monitor their location. Use physical luggage tags with minimal personal information; I just put our surname, “Linke” and Michael’s mobile phone number on ours. I don’t want someone seeing a female name, or address details on my tags. Or being able to send me harassing texts or photos. Be smart about what you pack. Leave behind any sentimental items that cannot be replaced. This way, if anything goes missing or gets stolen, you can rely on your travel insurance for replacements. Ensure you check whether you need to itemise valuable items, such as cameras, with your insurer. Refrain from taking and wearing expensive jewellery or flashy clothing. These items can attract unwanted attention, leading thieves to assume you’re carrying a lot of cash. Always pack your valuables in multiple locations. Keep cash and credit cards in separate spots, so you have a backup if something gets lost or taken. Consider using RFID-blocking sleeves for your cards and passport, for added protection. Your medications may be valuable on the black market so protect them too! As for safety gadgets, consider packing a few items that can provide an extra layer of security. For instance, a portable door lock can secure your hotel room, while portable alarms or motion-activated lights can keep unwelcome visitors at bay. Some travellers even swear by using an old phone as a webcam in their hotel room, along with an app like Alfred, to monitor for any unexpected intruders while they are out. I’ll link all the gadgets I’m aware of in the description below, so feel free to check them out. Transport and tours Staying aware whilst navigating transportation is critical. Using rideshares like Uber can offer a sense of safety, but it’s essential to verify that the license plate matches what you see in the app. If you have luggage in the boot – trunk for Americans – wait until the driver exits the vehicle before you do, to avoid them driving off with your possessions. If you are hailing a taxi, take a photo of the licence plate before you get in. And whether it’s an Uber or a taxi, if you’re in an unfamiliar location follow along on a map to make sure you aren’t being taken to the wrong place! If traveling from home to the airport with luggage, which makes it obvious that I’m going away, I often have a fake phone conversation with a friend to talk about them housesitting with their big scary boyfriend—this trick can deter potential house breakers. When booking tours, choose reputable companies with positive reviews, and if it helps your sense of security, look for options tailored specifically for women. Always have a plan in place for what happens if you get separated from the group. In general, exercise
Cruise drinks packages – cruise tips you need to know for your next cruise ship holiday!

Are you feeling overwhelmed by cruise drink packages? You’re not alone! I was in the same boat until I started researching to ensure I was getting the best value for my cruise—and maximising my onboard experience! If you’re searching for low-cost cruises, understanding these packages is crucial to avoid any pitfalls! Recently, I discovered that there are 23 cruise lines catering to English-speaking travellers, each adopting a unique approach to their drink packages. Some of these packages include just beverages, while others offer additional perks like Wi-Fi, exercise classes, specialty dining, and even crew appreciation charges. I won’t dive into the details of all 23 cruise lines—this post would take days to read! Instead, I’ll focus on seven cruise lines across different categories from mass-market to ultra luxury, offering you examples of the types of packages you might encounter. All amounts are in US dollars and reflect packages as advertised for the US market; prices may vary slightly for Australian and other markets. It’s wise to conduct your own research before booking, but don’t worry—this information will set you on the right path to understanding how each cruise line operates. And after I go through the seven cruise lines’ drinks packages, I give an example of how I calculate if the package is worth it for us! Royal Caribbean Let’s start with Royal Caribbean, which offers three drinks packages—a method that’s fairly standard but unique because pricing varies by ship, itinerary, and even when you decide to purchase the package. Generally, it’s cheaper to buy before boarding, but not when booking. After you’ve made your reservation, Royal Caribbean often sends out promotional discounts that can lower package prices. They also offer fantastic deals for Black Friday. While their drinks packages focus solely on beverages, they do offer dining and Wi-Fi packages as well. A key point to remember: if anyone in your cabin wants to purchase an alcoholic beverage package, all guests of legal drinking age in the same cabin must purchase the package together. However, other beverage packages can be bought by just one person, and all packages are for individual use—no sharing allowed! Here’s a quick overview of Royal Caribbean’s drinks packages: The Royal Caribbean website doesn’t show the pricing, so I got that from this article by the Points Guy. Norwegian Cruise Line Norwegian have recently announced that the current package – Free at Sea – is no longer being offered. While it continues to exist on cruises booked before the change that sail in 2024, any bookings since 1 October 2024 and all cruises sailing on or after 1 January 2025 will have the More at Sea included package. I’ll cover More at Sea, but firstly, for those sailing between now and the end of 2024 here is the information on Free at Sea. Free at See is included in the cruise fare and offers: You can upgrade to Free at Sea Plus, it’s $49 per adult, $29 per child, or $42 for a solo traveller per day, adding: If you upgrade to Free at Sea Plus, you can further upgrade the Wi-Fi to a streaming package for an additional $10 per person, per day. Remember, if upgrading to Free at Sea Plus, all adults in the cabin must upgrade as well. So what is More at Sea? It is also included in the cruise fare but there is no “More at Sea Plus” upgrade package. More at Sea offers: If you want to upgrade any aspect of More at Sea, there are individual upgrade packages for beverages and internet. Beverage packages include a water package ($20 for 12 16oz (473ml) bottles, $35 for 24, $50 for $48), unlimited Starbucks package ($16 pp pd) and an unlimited soda package ($12 pp pd). Princess Cruises Moving on to Princess Cruises, there are two packages available: Plus and Premier. Both come at an additional cost, allowing you to sail without them and pay as you go if you prefer. Princess Plus $60 per person per day Princess Premier $90 per person per day OceanNow delivery is a food and drink delivery service. You order on the Princess app, and it’s brought to you wherever you are on the ship. This is done by tracking the location of your cruise medallion on the MedallionNet system. All adults in the cabin must have the same package. Virgin Voyages Virgin Voyages takes an “almost all-inclusive” approach, where your cruise fare encompasses They don’t have drinks packages; instead, it’s a pay-as-you-go system. However, if you pre-load a “bar tab” with funds, you can receive a bonus. For example, if you add $200 to your bar tab, you’ll get $225 to spend on drinks. Viking Ocean Next, Viking Ocean also promotes an almost all-inclusive experience. They offer You can additionally purchase the Silver Spirits beverage package for $25 per person, per night, which includes: Oceania Cruises Oceania Cruises is part of the Norwegian Cruise Line Holdings group and has also announced that the current package – Simply More – is no longer being offered. While it continues to exist on cruises booked before the change that sail in 2024, any bookings since 1 October 2024 and all cruises sailing on or after 1 January 2025 will have the Your World Included package. I’ll cover Your World Included, but firstly, for those sailing between now and the end of 2024 here is the information on Simply More. The Simply More package is included in the cruise price and provides: You can upgrade to the Prestige Select package for an additional $30 per person per day, which adds unlimited premium spirits, champagne, beer, and wine whenever and wherever you desire. Importantly, this upgrade doesn’t have to be purchased for everyone in your cabin. The Your World Included package is included in the cruise price and provides: The Prestige Select beverage package is available from $59 per person per day. Regent Seven Seas Cruises Regent Seven Seas Cruises is the closest to an all-inclusive experience!
Airport Secrets: Tips for a Smooth Travel Experience

Travelling can often be overwhelming, especially when it comes to navigating the airport. Today, I’m excited to share some essential secrets about airport security, airplanes, and the check-in process that are sure to surprise you. Get ready to transform your next airport experience from frustrating and stressful to smooth and enjoyable! And stick around until the end for a packing tip that will truly amaze you! The Airport Experience: Preparing for Security Welcome to Linke Lifestyle! I’m Mardi, and I’m here alongside my husband, Michael, to share the wealth of travel experience we’ve gathered over the years, ensuring your holidays are not just enjoyable but truly unforgettable! Throughout my journeys, I have found that the airport experience can often be the most stressful part of travelling. But fear not! With my tips and tricks for security and boarding, along with some insider secrets about aeroplanes, you’ll be well-prepared for your next adventure. Navigating Airport Security Going through security can be stressful, as you juggle your bags, remove shoes, and try not to slow down the line, all while feeling that familiar pressure! To ease this process, BE PREPARED! If you’re flying from an airport you haven’t visited before, take the time to research security procedures. A quick online search can reveal what items you need to remove and what’s required. Pro Tip: Keep any items that need to be removed from your bag easily accessible. For instance, while preparing to fly to Europe, I packed my laptop in my rollaboard suitcase, thinking it wouldn’t be an issue in Australia. Unfortunately, in Singapore, I discovered that the laptop needs to be removed from the bag! Managing that in a crowded airport can be quite the challenge! Here’s another useful suggestion: remove anything that could be mistaken for a suspicious item. My husband, Michael, who has vision impairment, sometimes travels with a cane that he stows in his bag. We’ve encountered security issues because of this; they once mistook his cane for a weapon! Now, we make it a point to keep it visible to avoid unnecessary delays. Additionally, don’t wait until you reach the front of the line to empty your pockets! I prepare for security as soon as I arrive at the airport, placing everything into my personal item bag. This way, when I reach the screening area, it’s simply a matter of pulling out my liquids and placing my bags on the belt. Nothing frustrates seasoned travellers more than someone fumbling at the last moment! Water Bottles: Remember to EMPTY them! You don’t want to be that person scrambling to throw their bottle away at security. Understanding Liquid Restrictions When it comes to liquids, ensure they are in containers of 100ml or less—this equates to three ounces. It’s crucial to remember that it’s the size of the container that matters, not the amount of liquid inside! So, that nearly empty large tube of toothpaste? It’s unfortunately a no-go. Shoe and Belt Considerations If you often find yourself needing to remove your belt, consider investing in one with a plastic buckle. Michael discovered one on Amazon that allows him to keep his belt on, which I’ve also linked in the description below. For shoes, if you anticipate needing to take them off at security, opt for ones that are easy to slip off—avoid complex zippers and buckles! Interacting with Security A vital reminder: do not joke with security staff. An example of this occurred at the Met Museum in New York, where a man jokingly mentioned he kept a bomb in his bag during a security check. The personnel took him seriously, leading to an unnecessary commotion. Remember, humour is not appreciated in these situations! Once you’ve cleared security, move aside to gather your belongings without delaying the line, and don’t forget to stack your plastic bins! Ordaining Your Valuables: When sending your belongings through the x-ray, consider sending them in order of value—from least to most valuable—so you can keep an eye on your important items. Boarding Pass Security Did you know your boarding pass contains sensitive information? It could potentially be misused if it falls into the wrong hands. Be sure to shred or dispose of it securely once your flight is complete. If you see “SSSS” on your boarding pass, it indicates you have been selected for additional security screening. Be prepared to arrive at security a little earlier; these selections occur randomly. Michael experienced this when we travelled from Melbourne to LA, and though it took some time, the additional checks were hassle-free. Assistance for Passengers with Disabilities If you need assistance due to a disability, please don’t hesitate to request help from your airline in advance! Michael uses this service when he travels alone and sometimes when I accompany him as well. Due to his vision impairment, he finds navigating unfamiliar airports easier with a guide. I also request assistance in large airports, particularly when I experience sensory overload. This service was invaluable for us during our recent travels through Heathrow! Ready for Takeoff Now that you’ve successfully navigated security and boarded the plane, don’t forget to check out some of my flight tips videos in the playlist that will appear when this video concludes! Right now, however, let’s delve into some fascinating secrets about the aeroplane itself! Did you know that the cabin is pressurised to help us breathe at high altitudes? It’s more cost-effective for planes to fly at higher altitudes, but too much pressurisation can distort the aircraft’s structure over time. It’s a delicate balancing act to ensure our comfort while maintaining the aircraft’s integrity and keeping costs low. Hidden Crew Features Here’s an interesting fact: on longer flights, there’s often a hidden crew bedroom nestled in the roof space! If you’re curious, simply Google your aircraft type along with “secret crew bedroom” to uncover its location—you might even spot the access point yourself! And did you know there’s a secret lock on the outside of the toilet door? Flight attendants